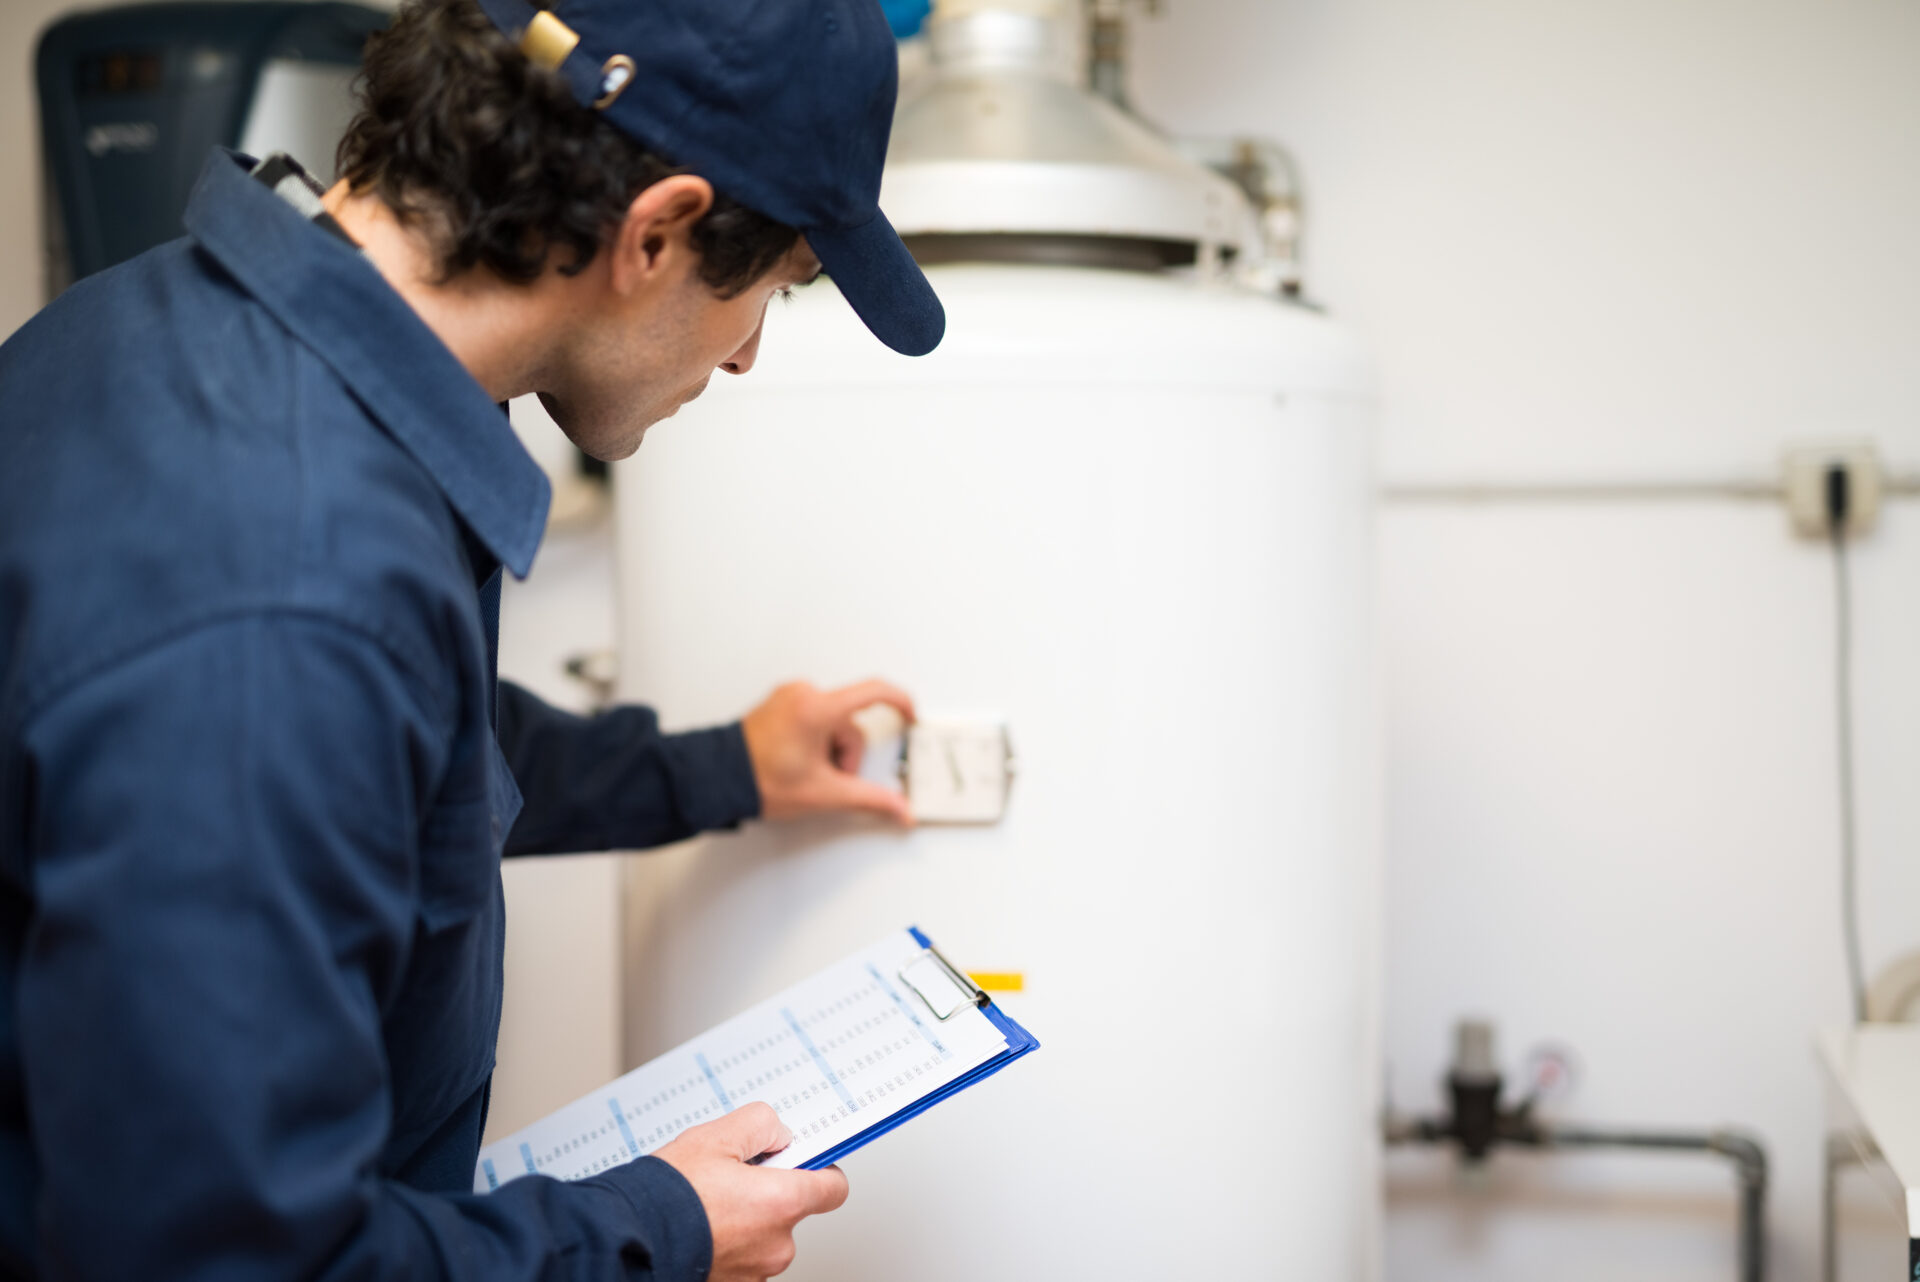
Are you considering installing a new water heater in your home? Whether you’re replacing an old unit or setting one up for the first time, understanding the installation process can save you time and money. In this comprehensive guide, we’ll walk you through the essentials of water heater installation, ensuring you have hot water in no time.
Why Choose Professional Water Heater Installation?
While DIY projects can be rewarding, installing a water heater is a task best left to professionals. Here’s why:
- Safety: Water heater installation involves handling gas lines, electrical wiring, and water connections. Professional plumbers have the expertise to do this safely.
- Efficiency: A professional installation ensures your water heater operates efficiently, saving you money on energy bills.
- Compliance: Licensed professionals ensure that your installation complies with local building codes and regulations.
Types of Water Heaters
Before diving into the installation process, it’s important to choose the right type of water heater for your home. Here are the most common options:
- Tankless Water Heaters: These heaters provide hot water on demand, saving energy and space.
- Storage Tank Water Heaters: The traditional choice, these heaters store a large volume of hot water for immediate use.
- Heat Pump Water Heaters: These are highly energy-efficient, using electricity to move heat from the air or ground to heat water.
- Solar Water Heaters: These systems use solar panels to heat water, making them an eco-friendly option.
Step-by-Step Water Heater Installation Process
- Preparation
- Gather Tools and Materials: You’ll need wrenches, a pipe cutter, a soldering kit, and the necessary pipes and fittings. b. Turn Off Utilities: Shut off the water supply and disconnect the power or gas line to the old water heater. c. Drain the Old Heater: Attach a hose to the drain valve and direct the water to a floor drain or outside.
- Remove the Old Water Heater
- Disconnect the Pipes: Use a pipe cutter to disconnect the hot and cold water lines. b. Remove the Heater: Carefully remove the old water heater and dispose of it according to local regulations.
- Install the New Water Heater
- Position the Heater: Place the new heater in the same location as the old one, ensuring it’s level and stable. b. Connect the Water Lines: Use the appropriate fittings to connect the cold water inlet and hot water outlet. c. Secure the Heater: Follow manufacturer instructions to secure the heater in place, using straps or brackets if necessary.
- Connect the Gas or Electrical Supply
- Gas Water Heaters: Connect the gas supply line, ensuring there are no leaks. Use a soapy water solution to check for gas leaks. b. Electric Water Heaters: Connect the electrical wires according to the manufacturer’s instructions, ensuring all connections are secure and insulated.
- Fill the Tank
- Open the Water Supply: Turn on the cold water supply and allow the tank to fill. b. Check for Leaks: Inspect all connections for leaks and tighten as necessary. c. Flush the System: Open a hot water faucet and let the water run until it’s clear to remove any debris or air from the system.
- Start the Heater
- Gas Heaters: Light the pilot and set the thermostat to the desired temperature. b. Electric Heaters: Turn on the power and set the thermostat.
Maintenance Tips for Your Water Heater
To ensure your water heater runs efficiently and lasts as long as possible, follow these maintenance tips:
- Regularly Check the Anode Rod: This rod helps prevent corrosion inside the tank. Replace it every few years to prolong the life of your water heater.
- Flush the Tank Annually: Draining and flushing the tank removes sediment buildup, which can affect performance and efficiency.
- Inspect for Leaks: Periodically check all connections for leaks and address any issues immediately.
- Adjust the Temperature: Setting your water heater to 120°F can prevent scalding and save on energy costs.
Conclusion
Installing a water heater is a significant investment in your home’s comfort and efficiency. By choosing the right type of water heater and following a meticulous installation process, you can ensure reliable hot water for years to come. Remember, while DIY installations can be tempting, hiring a professional ensures the job is done safely and correctly. For expert water heater installation services, contact us today and enjoy peace of mind with our top-notch plumbing solutions.
